
Your first afternoon: the onboarding checklist
2 min read · Updated Jul 18, 2026
Rollout takes an afternoon, not a quarter. Connect your PSA and Microsoft 365 and your companies, contacts, projects, and history are already there. Here's the order that works.
Heads up
Write-back is off by default
Until you deliberately enable push, Current only reads from your PSA. Nothing you do during onboarding touches your live PSA records.
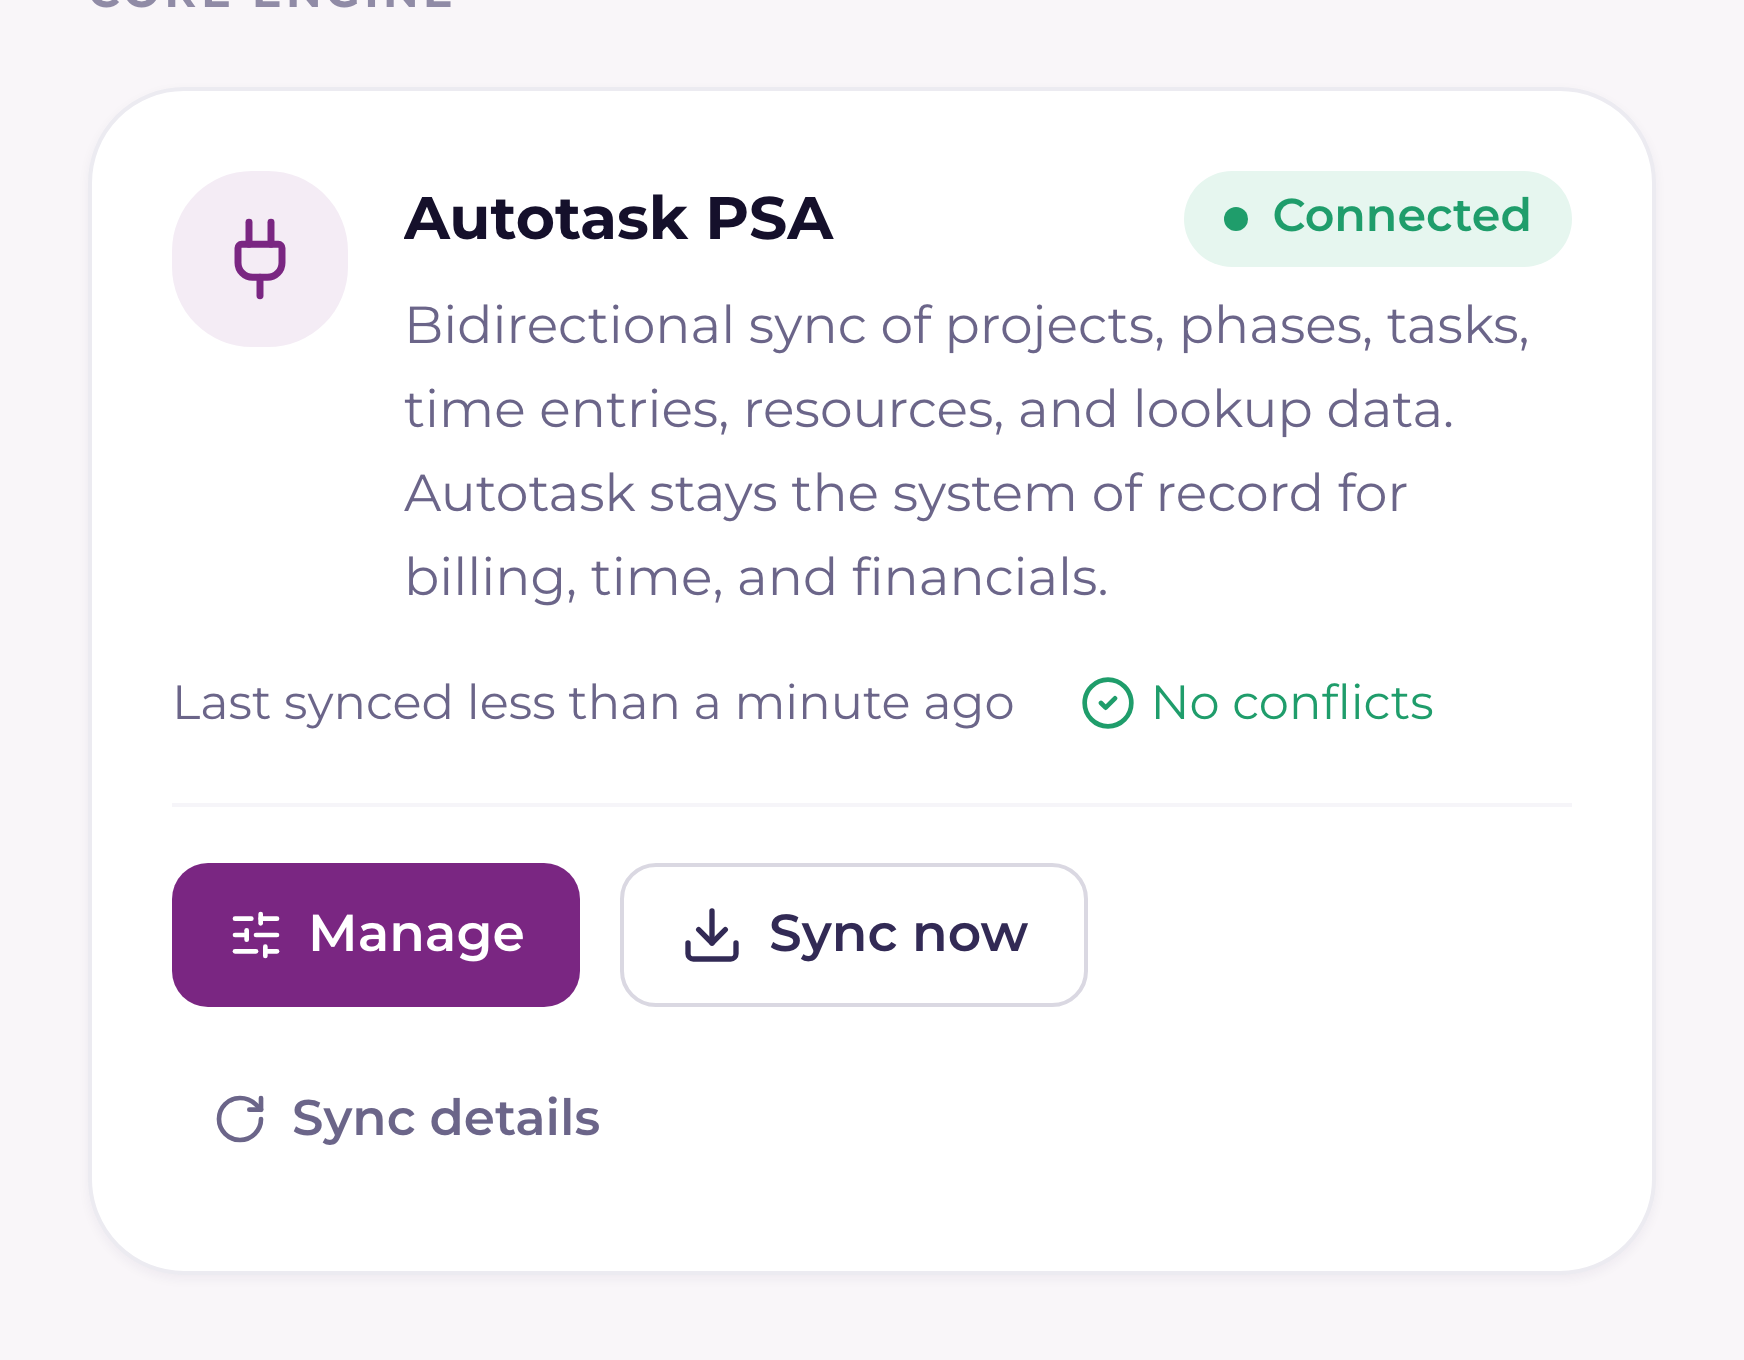
- 1Connect your PSASettings → Integrations → ConnectWise PSA, Autotask, or HaloPSA. Enter your API credentials; Current discovers your instance or zone automatically and runs a test connection before saving anything. See "Connect ConnectWise PSA and choose what syncs", "Connect Autotask and choose what syncs", or "Connect HaloPSA and choose what syncs" for the full walkthrough — one PSA per workspace.
- 2Let the first pull finishThe initial sync brings in companies, contacts, projects, tickets, people, and time entries. Watch progress under Settings → Sync health.
- 3Connect Microsoft 365An admin configures SharePoint once for the workspace; each user connects their own account for Teams and Calendar. See the Microsoft 365 guide.
- 4Invite your teamSettings → Members → Invite. Assign a role at invite time — roles scope what each person sees, so get this right before people log in.
- 5Review field ownershipThe ownership map decides which system wins for each field. Defaults are safe (your PSA owns billing-critical fields), but review it before enabling push.
- 6Turn on write-backWhen you're ready, enable push per entity — time entries, task dates, statuses. Each outbound write is confirmed by reading the record back.
Tip
Sandbox first
If you have a sandbox or test instance of your PSA (Autotask sandboxes are common), connect it first and run a test project through the full loop. The environment follows the credentials, so double-check which one you're pointed at.
Was this helpful?