
Campaigns and audiences: build, approve, and send safely
A campaign is a one-time send to a segment of your book — a price change notice, an event invite, a newsletter. Audiences are how you build that segment: a live, stackable filter over your PSA data, shared by campaigns and AI sequences alike. This article covers building the audience and getting a manual campaign through approval and out the door. If you want the AI to draft the message itself, see "AI sequences and campaigns" — that article covers the full filter list and AI drafting in depth.
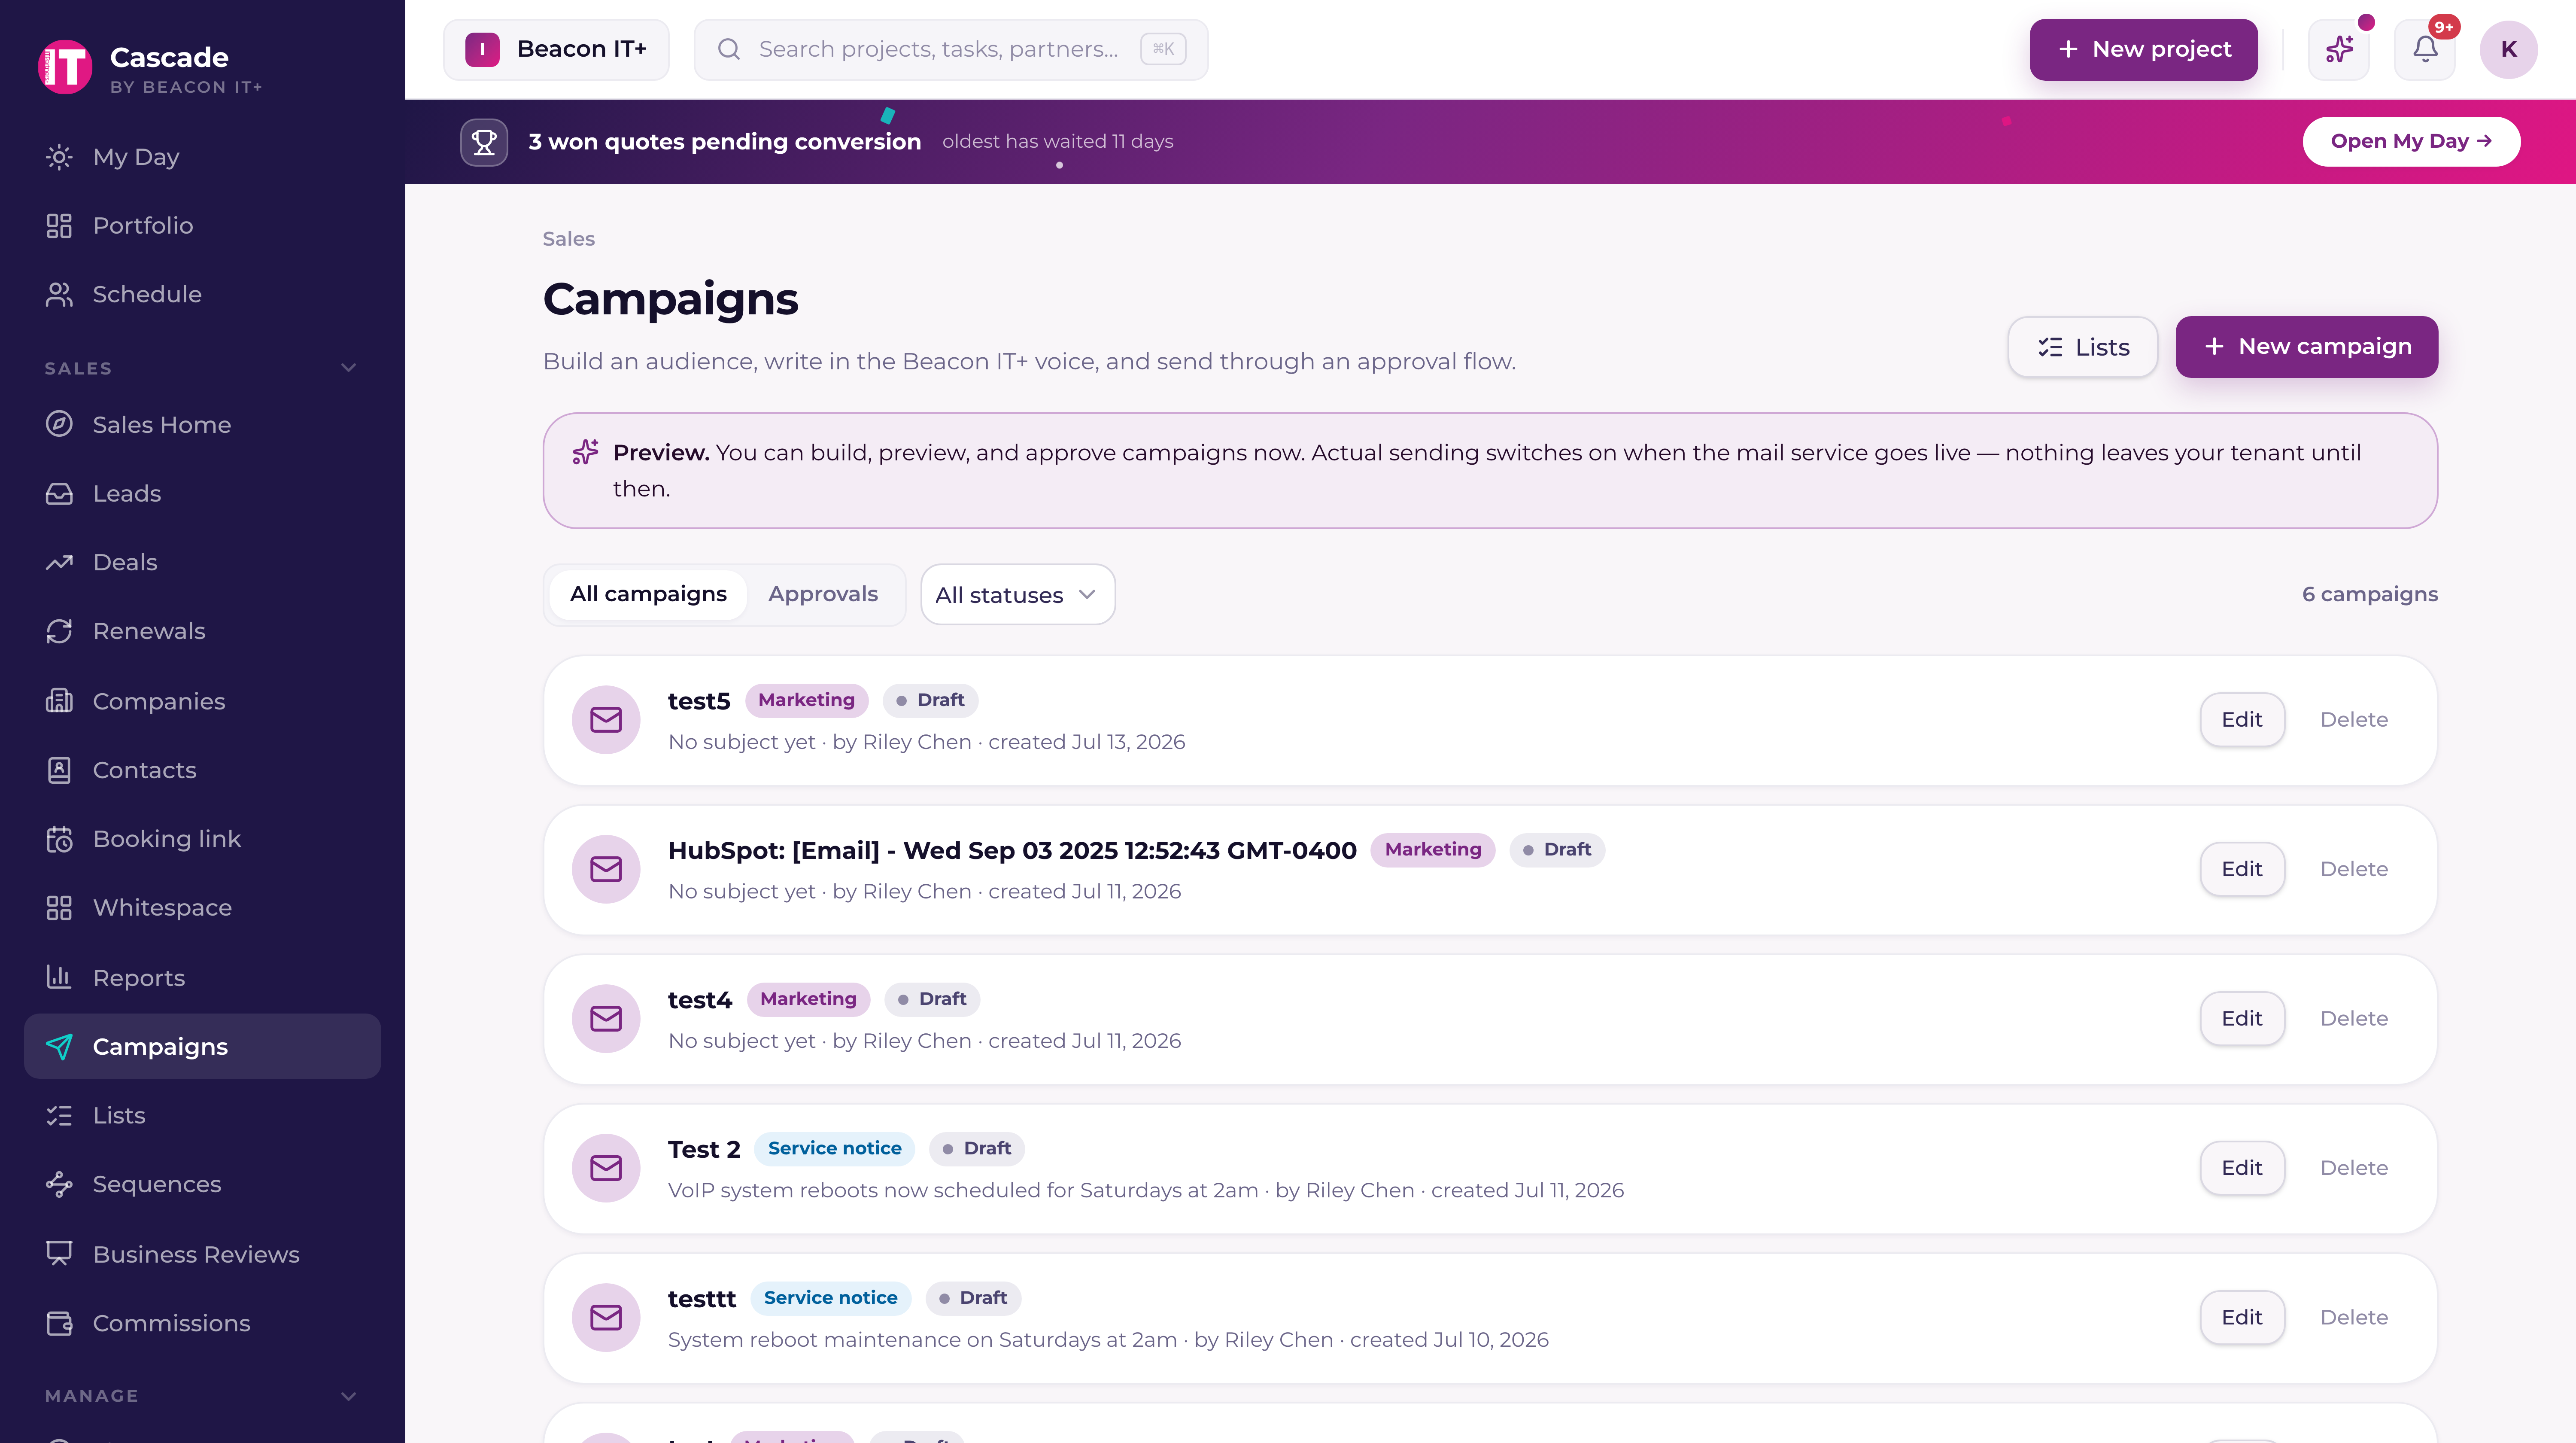
Build the audience
Open the composer for a new campaign and you'll land on the audience builder. Every filter you add stacks with AND — adding more filters always narrows the list, never widens it. You can filter by relationship, company status (current vs former partner), account owner, location, industry, classification, contract type, offerings (and offering coverage gaps), tags, saved lists, minimum MRR, and whether to scope to primary or active contacts only. A live count updates as you add filters, with a sample of matching contacts so you can sanity-check before you commit.
- +Company status reaches current partners only — it filters on whether a company is still active in your PSA (Autotask, ConnectWise, or HaloPSA), so a service notice skips companies you've offboarded even if they still carry a lingering contract. Pair Active with Customers to reach current partners who also hold an active contract. A company whose status hasn't synced yet counts as active, so nobody is dropped by surprise.
- +Account Executives only see their own book when filtering by owner — you can't accidentally pull another AE's companies into your send.
- +Save a combination of filters as a segment so you don't rebuild it next quarter.
- +The same audience builder appears in the sequence composer, so a segment you like works for both one-time campaigns and multi-step sequences.
Verify the audience before you send
With NeverBounce connected (Settings → Integrations, a Tenant Admin action), the campaign wizard carries a Verify button that reads the audience's state at a glance: green Verified when the list is checked and healthy, amber Verify recommended when enough of it is stale or never-checked to matter, neutral Verify otherwise. Click it and Current runs verification — and opens a pre-send report you can actually work from.
- +Every address in the audience with its verdict — valid, accepts-all, unknown, or flagged — plus NeverBounce's suggested correction where one exists (usually a typo fix).
- +Filter chips to cut the report to one verdict, and a search box to find a specific address or partner.
- +Large audiences show the first 2,000 rows with an honest total — the count at the top is the whole audience, not just what's on screen.
- +Flagged addresses are excluded from every send automatically — that's the suppression list doing its job; the report just lets you see it before the send instead of after.
The Live data block (service notices only)
A service-notice campaign — a maintenance window, a policy change, an outage update — can include a Live data block: a small snapshot of each recipient's own account, filled in per-partner at send time so everyone sees their own numbers rather than a generic paragraph. It's available on service notices only, never on marketing campaigns, and it's fully configurable.
- +Choose whether to show the partner's open projects, and how many to list (1–10) — optionally with each project's due date or % complete.
- +Optionally show their next renewal and their account manager.
- +Add an optional custom heading for the block, or leave the default.
- +It stays partner-safe by design: the Live data block never includes any financial data — no rates, budgets, margins, or dollar figures — exactly like the partner portal.
Who it's from
Every campaign chooses a sender in the composer's "Who it's from" section. Everyone can send as your brand (e.g. "ITPartners+") or as "«you» from «brand»". Sales leadership and tenant admins get two more options for sending as someone else — a leadership-only capability, enforced at the database, not just hidden in the UI.
- +Each account manager — the email is sent per recipient from that company's own account manager. If the account manager's address is on your verified sending domain, it sends from their real address; if not, it still sends from your team's address but replies route back to them. A company with no account manager falls back to your brand.
- +Someone else — the whole campaign is signed by one chosen person. Pick a teammate to fill their name and email automatically, or type a name and reply-to address by hand. Same domain rule: their real address when it's on your verified domain, otherwise replies route to them.
- +The Review step shows a "Who each recipient hears from" breakdown before you send — one line per account manager with the recipient count, plus a fallback line for anyone with no account manager — so there are no surprises.
Draft and submit for approval
Every campaign moves through a status: draft, then pending approval, then approved, then sending, then sent. Nothing skips a step — the send button simply isn't there until the campaign is approved.
- 1Write the campaignSubject, body, and the audience you built. Save as a draft any time.
- 2Submit for approvalAccount Executives submit their draft for review. Sales leadership (a sales manager or tenant admin) can approve it — or, if the audience is small enough, you can approve your own.
- 3Small sends can self-approveIf your resolved audience is 25 recipients or fewer, you can approve and send your own campaign — no one else has to sign off. Anything larger needs a sales manager or tenant admin to approve.
- 4SendOnce approved, sending kicks off in controlled batches rather than all at once — see guardrails below.
Sending guardrails
- +Sends go out in small batches per workspace, so one large campaign can't crowd out every other tenant's mail — or blow through your own sending reputation in one burst.
- +Every send re-checks opt-outs at the moment it goes out, not just when the audience was built — someone who unsubscribed five minutes ago won't get the email.
- +Every message carries a working unsubscribe link, both in a machine-readable header (so mail clients can show a one-click unsubscribe button) and in the message body as a fallback.
- +If you have NeverBounce connected, invalid and disposable addresses are suppressed automatically before the send — and the wizard's Verify button (see above) shows you exactly which ones, before anything goes out. Full details in "NeverBounce: verify email deliverability before you send".
Reuse a campaign: duplicate and templates
A quarterly notice or a maintenance announcement rarely needs rebuilding from nothing. Open the menu on any campaign row and you get two ways to reuse it, both of which leave the original exactly as it is.
- +Duplicate — makes a fresh draft called "Copy of «name»" carrying the audience, sender, subject, and body. Edit it and send it as its own campaign.
- +Save as template — files a copy under the Templates tab on the Campaigns page. The campaign you saved from is untouched and stays where it was.
- +Use template — starts a new draft from a saved template, so the audience, layout, and copy are already in place.
- +New campaign offers "Start from a template" whenever your workspace has one, alongside starting from scratch.
A copy carries the authoring work and nothing else. It never inherits recipients, send history, open and click results, or the approval stamp — it is born a plain draft with nothing sent.